Vault Introduction
1. Overview 
In this tutorial, Vault is a popular tool used to securely manage sensitive information in modern application architectures.
The main topics we'll cover, include:
- What problem does Vault try to solve
- Vault's architecture and main concepts
- Demo - How to render Vault data and use the data in single pane app
2. The Problem with Sensitive Information 
Before digging into Vault, let's try to understand the problem it tries to solve: sensitive information management.
Most applications need access to sensitive data in order to work properly.
Database credentials and API Keys are some examples of sensitive information that we need to store and make available to our applications in a secure way.
A simple solution is to store those credentials in a configuration file and read them at startup time. The problem with this approach is obvious, though. Whoever has access to this file share the same database privileges our application have – usually giving her full access to all stored data. So this way is very unsafe.
So, what can we do? Let's Vault it!
3. What is Vault 
4. Demo - How to render Vault data and use the data in single pane app 
- We need to create one secret engine if don't have and create one secret if it is KV. There are a lot of types that we can choose to store.
- Vault login meetpass/hfedev and export some variables. We will use single pane in hfedev02 as example.
export VAULT_ADDR=https://east.keeper.cisco.com
export VAULT_NAMESPACE=meetpaas/hfedev
vault  login -no-print <hfedev-admin-vault-token>
export VAULT_NAMESPACE_GLOBAL=meetpaas

export VAULT_ADDR=https://east.keeper.cisco.com
export VAULT_NAMESPACE=meetpaas/hfedev
export VAULT_TOKEN=$(vault-token-helper get)
export VAULT_PREFIX=secret/hfedev

export CLOUD=hfedev
export ENV=hfedev02
export INFRA_REPO=https://sqbu-github.cisco.com/cloudtools/hfedev-infra.git
- Develop one template YAML for vault data render
{{ with secret "pki/kdapi/issue/platform" "ttl=2160h" "common_name=kdapi client" }}
clientCert:
  certificate: |
{{ .Data.certificate | indent 4 }}
  private_key: |
{{ .Data.private_key | indent 4 }}
{{ end }}
- Define the render configuration in requirements.yaml or helm-cfg.yaml
secret:
  - name: single-pane-secrets
    pre-compiler: vault-template
    files:
      - source: "cfg-templates/kdapi_api_cert.yaml"
        target: "data/kdapi_api_cert.yaml"
        optional: true
- Use helm cfg to build the data render YAML file
helm cfg build --define env=hfedev02,infra_repo=https://sqbu-github.cisco.com/cloudtools/hfedev-infra.git,cloud=hfedev,service=single-pane
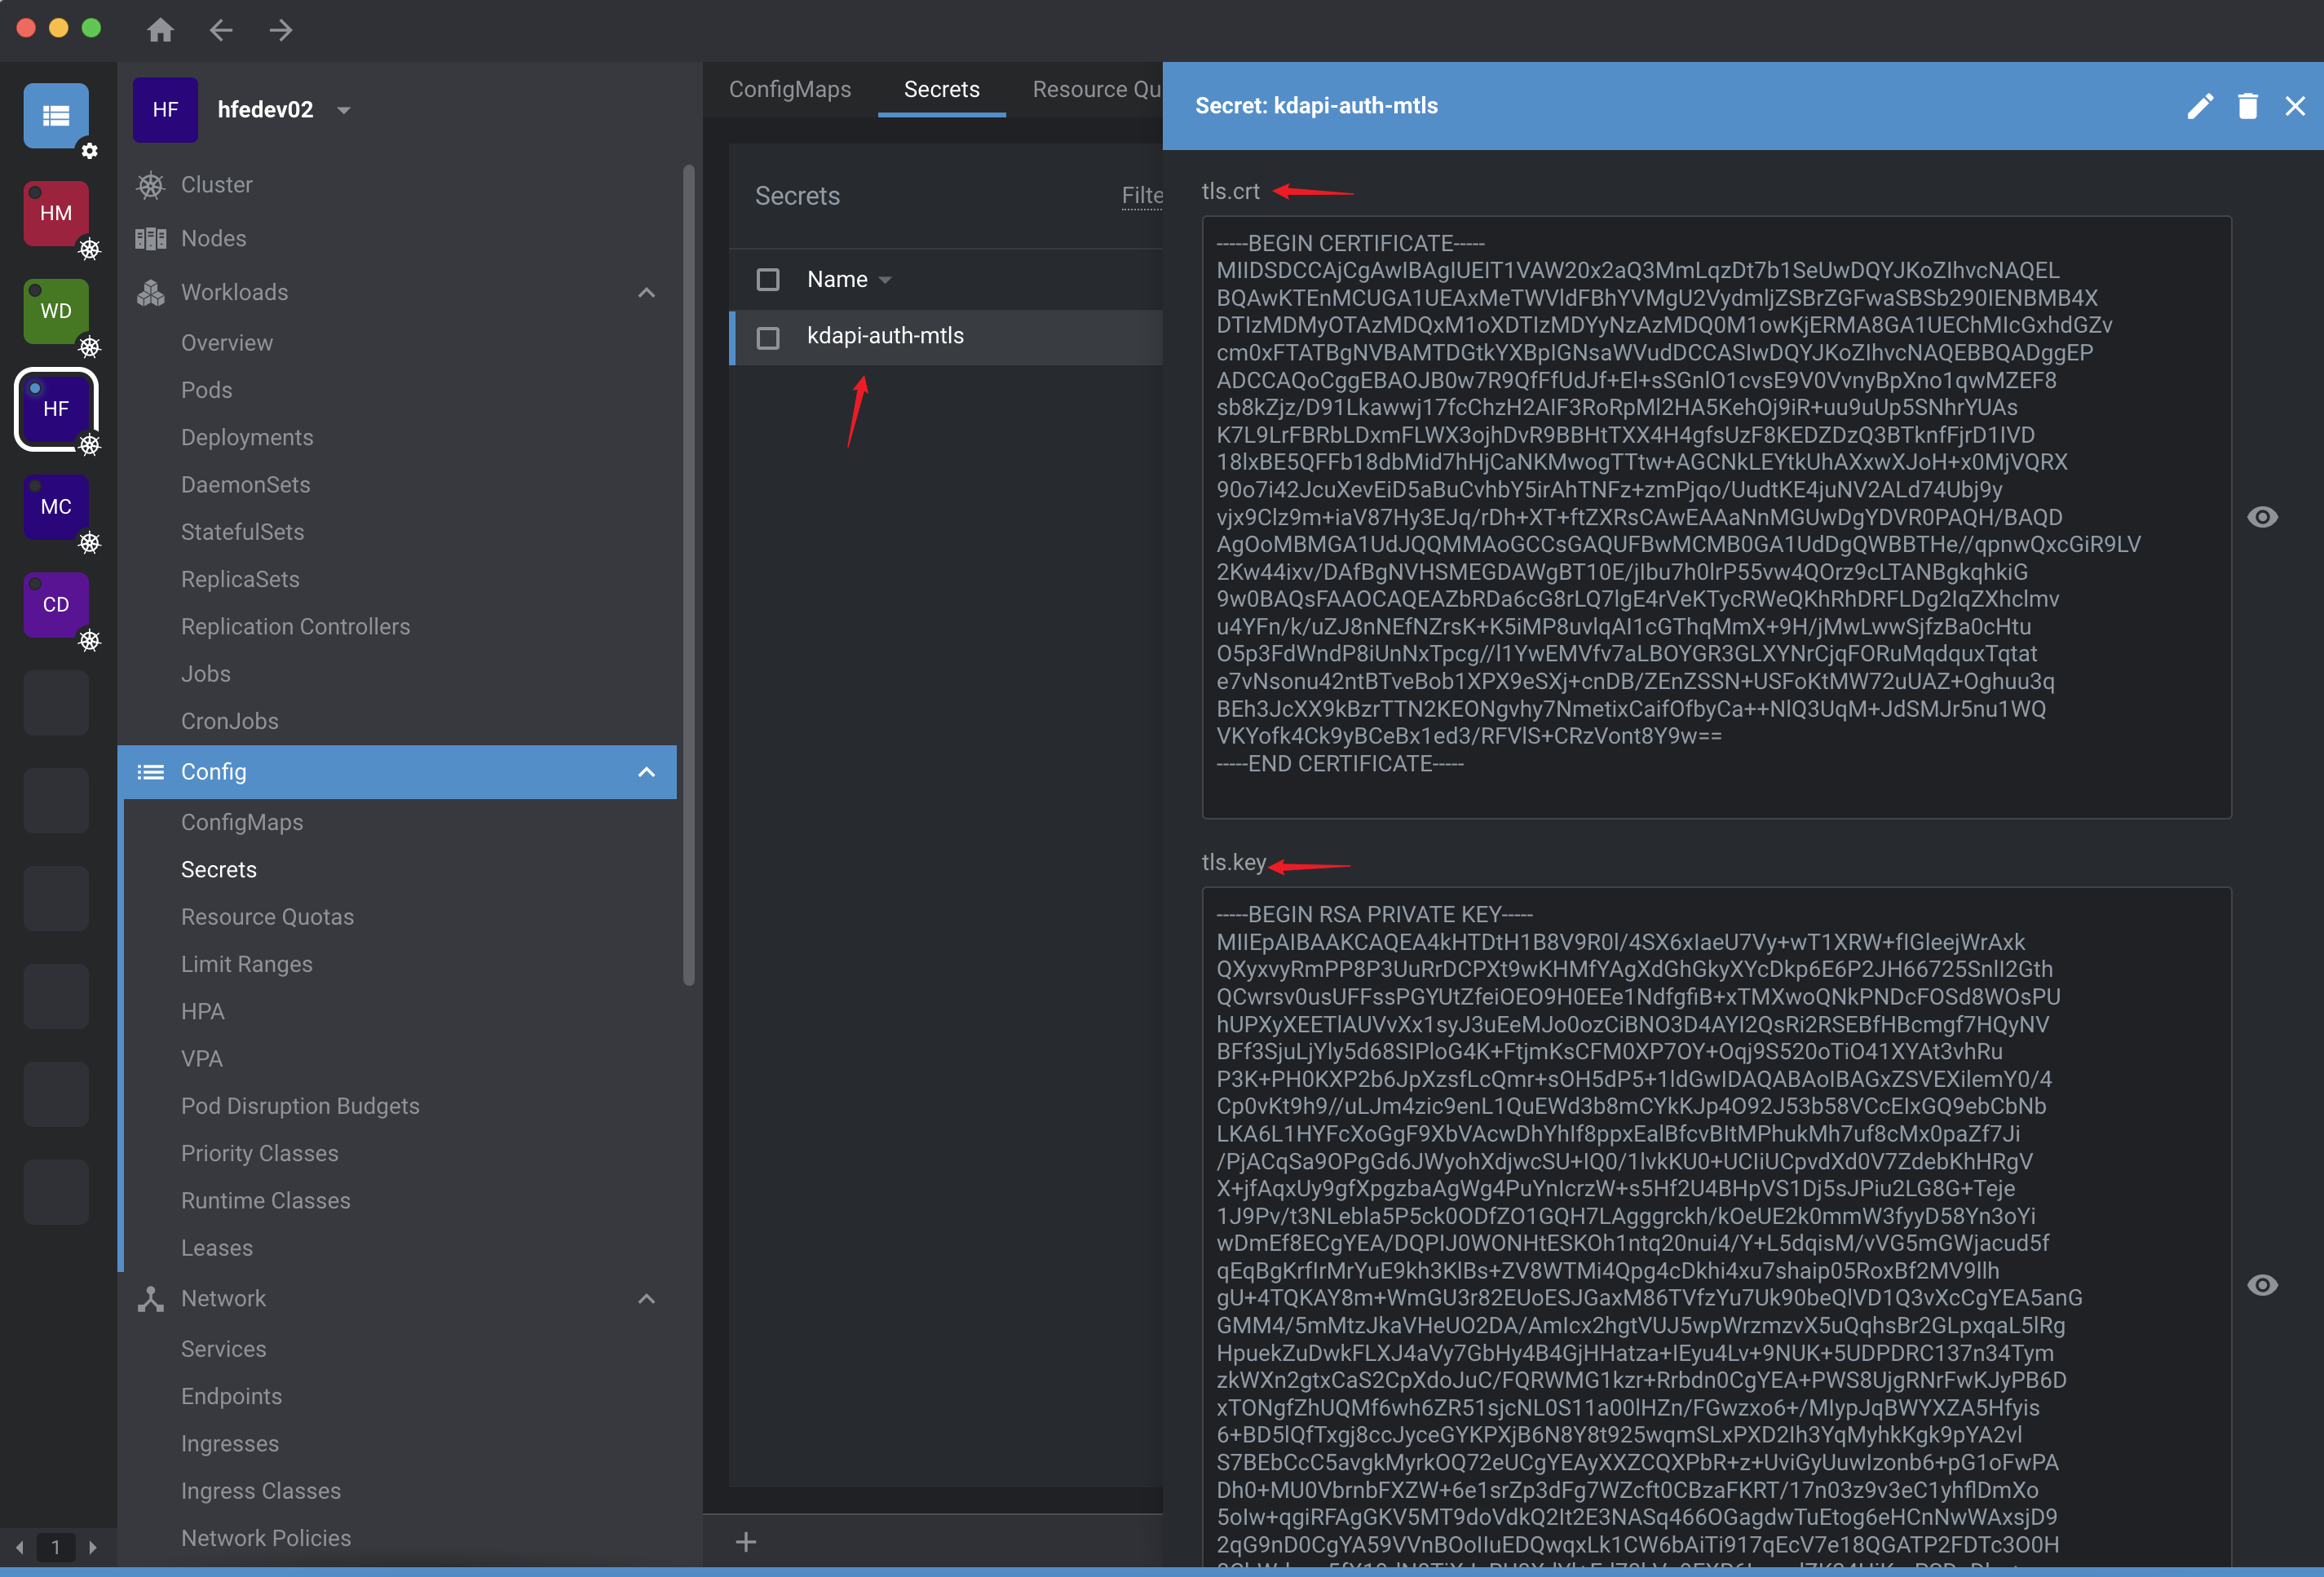
- Create one secret kdapi-auth-mtls by using the values which are from kdapi_api_cert.yaml
- We will configure the secret and mountPath to generate client.crt and client.key in the singlepane deployment YAML
volumeMounts:
  - name: kdapi-auth-mtls
    readOnly: true
    mountPath: "/etc/kdapi/cert/"
volumes:
  secret:
    secretName: kdapi-auth-mtls
    items:
      - key: tls.crt
        path: client.crt
      - key: tls.key
        path: client.key
- We will use the client.crt and client.key to call KDAPI APIs.
function addHttpAgents(options) {
  let kdapiCert = {
    cert: '',
    key: ''
  };
  kdapiCert.cert = fs.readFileSync(Constants.KDAPI_CERT_PATH.certificate);
  kdapiCert.key = fs.readFileSync(Constants.KDAPI_CERT_PATH.private_key);
  const httpsAgent = new https.Agent({
    cert: kdapiCert.cert,
    key: kdapiCert.key
  });
  options.httpsAgent = httpsAgent;
}